
01
Natural stone veneer
Quarried limestone, granite and sandstone cut to the elevation. Sorted and laid so colour and coursing read evenly across the whole face, not blotched panel by panel.
QuarriedCoursedHand sorted
 Service 02
Natural and manufactured stone, full brick and thin veneer, on new builds and restorations. Ties, flashing, weeps and mortar are set out before the first course goes on, because masonry is unforgiving once it is up.
What we install
Quarried limestone, granite and sandstone cut to the elevation. Sorted and laid so colour and coursing read evenly across the whole face, not blotched panel by panel.
Adhered thin veneer on a scratch coat and lath assembly. The economical route to a stone face on light-frame and steel-stud walls that cannot carry full masonry.
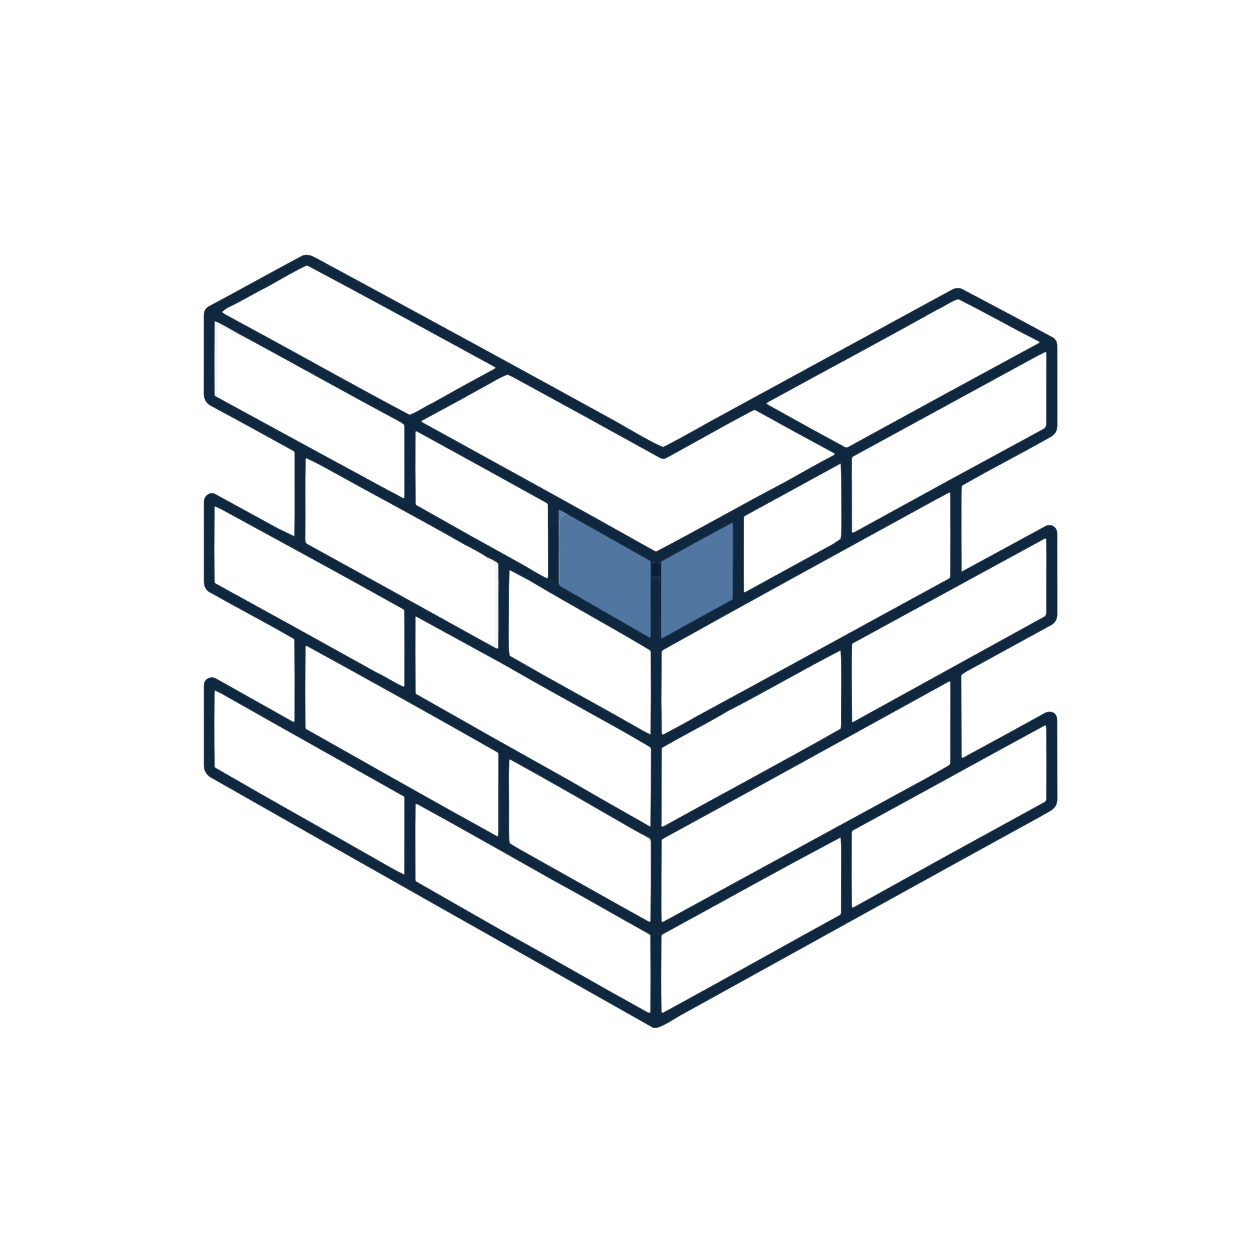
Anchored brick veneer and block back-up with ties, shelf angles, lintels and weeps installed to the structural drawings. Corners and openings set out before the first course.
Repointing failed mortar, rebuilding spalled and bulging sections, replacing damaged units and cleaning the face. Mortar matched for colour and, more importantly, for hardness.
The assembly
Coursing, joint size and corner returns get set out on the wall before we lay. Behind the face, the cavity has to drain, and every tie and flashing has to be where the drawings say it is.
Coursing, joint width, corner returns and opening details drawn and agreed before material is ordered. Fewer cuts on site, fewer surprises at the corners.
WRB lapped and tied into through-wall flashing at the base and every shelf angle, so water that gets in leaves the wall instead of the building.
A clear drained cavity with mortar-catch and weeps at the correct spacing. A blocked cavity is the single most common cause of masonry staining and freeze damage.
Ties and anchors at the spacing the structural drawings call for, fastened into solid substrate, with shelf angles and lintels shimmed level before any units go on.
Units blended from multiple pallets, courses run to a story pole and levels checked each lift, so joints stay consistent from grade to parapet.
Joints tooled to the specified profile, movement joints sealed, then a controlled clean-down that will not burn the face of the stone.
Specifying
Thin stone bonded to a lath and scratch-coat assembly. It carries no structural load, so the wall behind it does not need a shelf angle or a masonry foundation ledge.
Stone & Brick Veneer on site
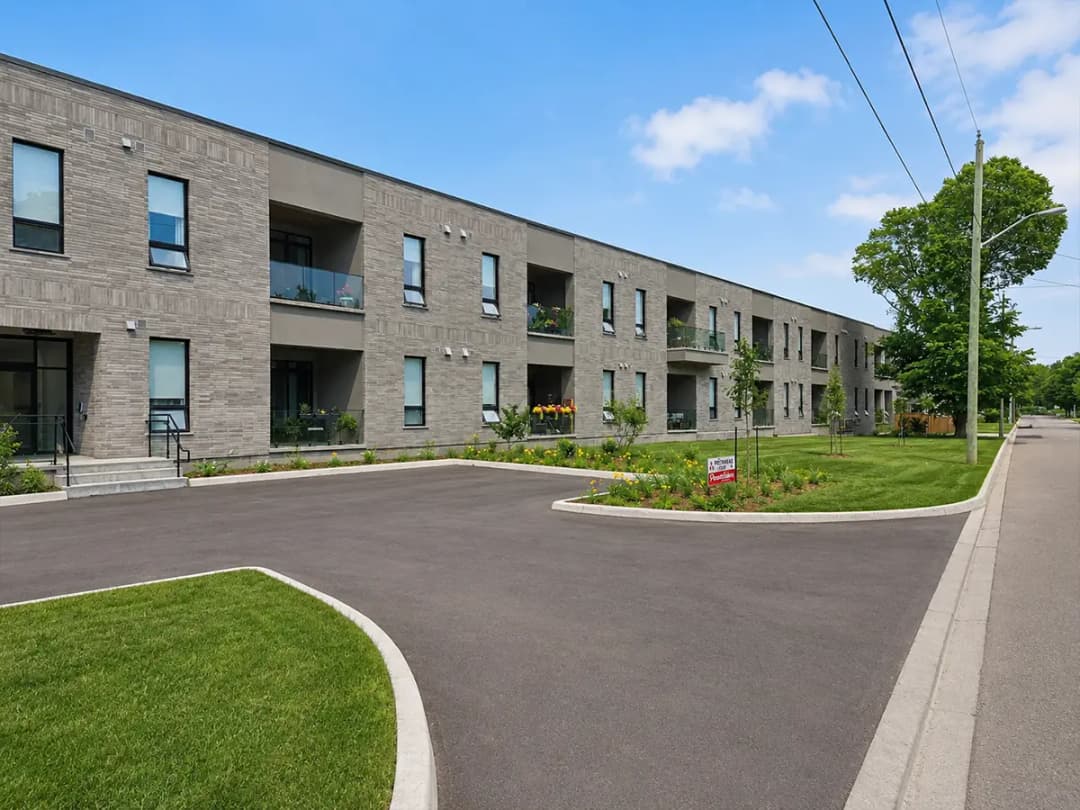
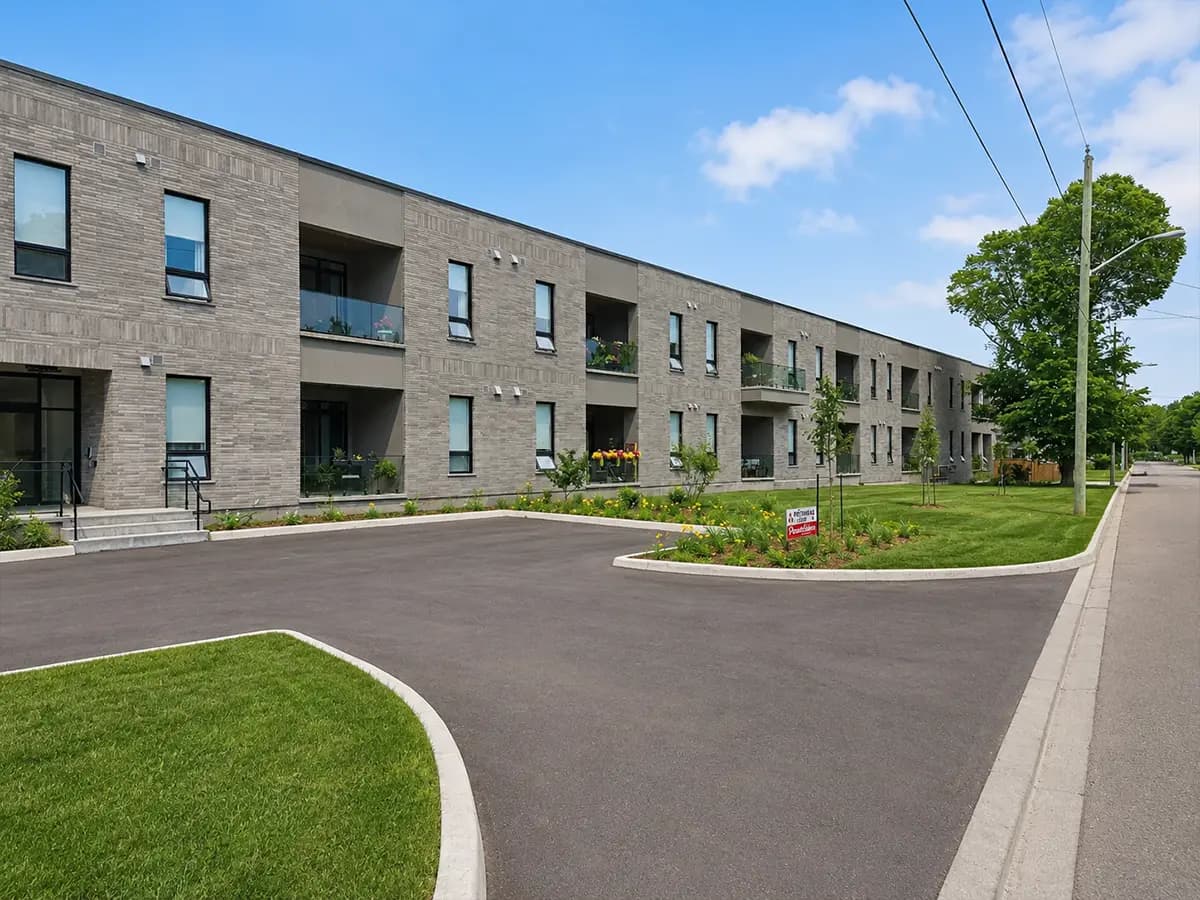
Multi-residential elevation in brick and stone veneer.

Stone veneer face with banding and opening surrounds.

Retail exterior with masonry veneer and finish detail.
Before you tender
If your question is not here, call and ask for the estimating desk. We will tell you what an honest scope looks like even if it is not ours to build.
Both. Elevations, wall sections and the stone or brick schedule get you a scope and number in about two business days. For restoration we walk the building first, because the condition behind the face decides the price.
Yes, with hoarding, heated enclosures and cold-weather mortar practice. There are limits: below the mortar's working temperature we protect and heat rather than lay and hope.
Usually. We source samples against the existing wall in daylight, match the mortar colour and joint profile, and set out coursing off the original so the addition lines through.
We work to the structural drawings and confirm tie spacing, shelf angle levels and lintel bearing with the consultant before we lay. Anything that does not match the drawings gets raised in writing, not improvised.
Deficiency walks are scheduled with the owner or PM rather than left to a punch list at the end.
Next step
Elevations, wall sections and the stone or brick schedule are enough to start. We will flag tie spacing, flashing and lintel details that cause trouble before they are priced.